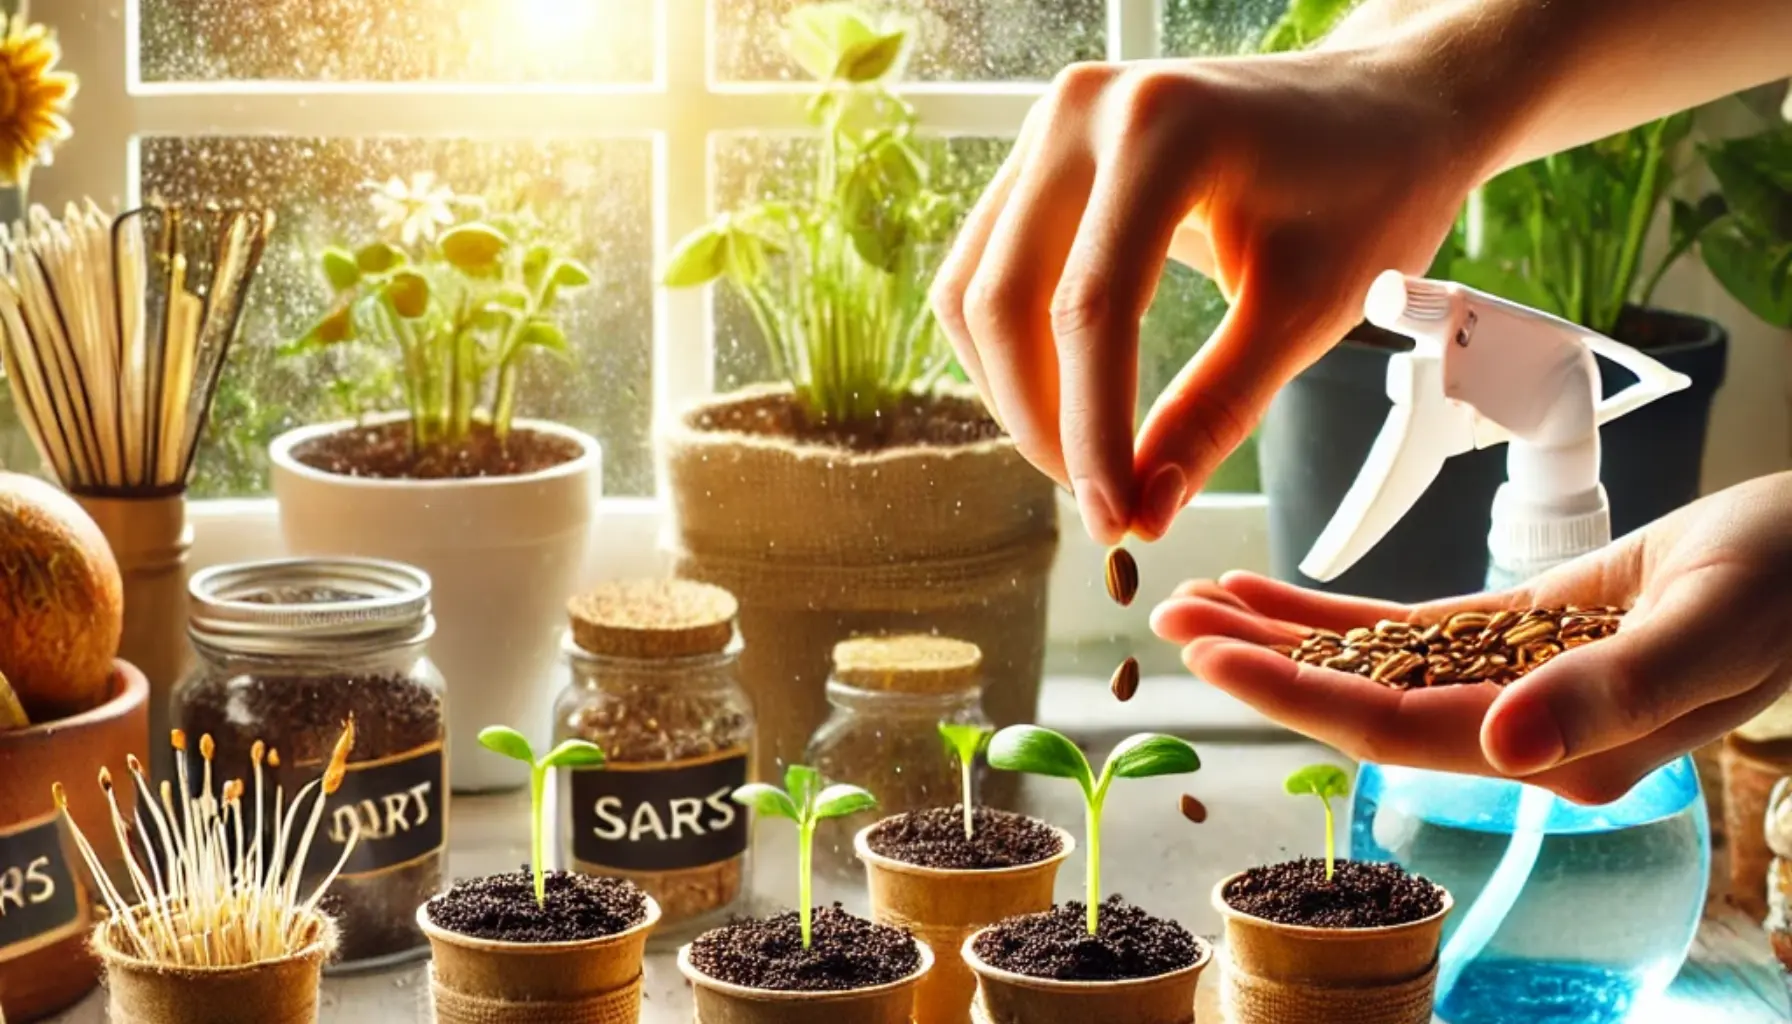
Germinating seeds at home is a simple, cost-effective way to grow your own plants. It gives you full control over the growing process and allows you to cultivate a variety of plants that might not be readily available at garden centers. Watching seeds transform into healthy seedlings is also incredibly rewarding.
This guide will teach you how to germinate seeds successfully, from selecting the right seeds to transplanting your seedlings. With the right techniques, you’ll set the foundation for a thriving garden.
Why Germinate Seeds at Home?
Germinating seeds at home offers a number of benefits that make it worthwhile:
- Affordable Gardening: A packet of seeds is often more economical than purchasing seedlings or mature plants.
- Wider Variety: Starting from seeds allows you to grow unique or heirloom varieties not commonly found in nurseries.
- Healthier Plants: By growing from seeds, you reduce the risk of introducing pests or diseases that can come with store-bought plants.
- Sustainable Practice: Germinating your own seeds minimizes waste from plastic pots and trays typically used for seedlings.
Starting from seeds also lets you witness the entire life cycle of a plant, giving you a deeper connection to your garden.
Choosing the Right Seeds for Germination
The success of your germination efforts begins with selecting the right seeds. Here’s how to make the best choice:
- Check Seed Viability:
- Use seeds that are fresh or stored properly in a cool, dry place.
- Older seeds may still germinate, but the success rate decreases over time.
- Opt for High-Quality Sources:
- Purchase from reputable suppliers or save seeds from healthy plants in your garden.
- Pick Beginner-Friendly Seeds:
- If you’re new to gardening, choose seeds that germinate easily, such as beans, lettuce, radishes, or herbs like basil.
A quick viability test can be done by soaking seeds in water. Seeds that sink are more likely to germinate, while those that float may not be viable.
Creating the Perfect Environment for Germination
Seeds need specific conditions to germinate successfully. Pay attention to these key factors:
- Light:
- Some seeds require light to germinate (e.g., lettuce), while others germinate better in darkness (e.g., beans).
- Check the instructions on the seed packet for light requirements.
- Temperature:
- Most seeds germinate best between 65°F and 75°F (18°C–24°C).
- Use a heat mat or keep seed trays in a warm spot if necessary.
- Moisture:
- Seeds need a consistently moist environment, but overwatering can lead to rot.
- A spray bottle works well to maintain the right level of moisture.
- Air Circulation:
- Good ventilation prevents mold growth and ensures a healthy environment for seedlings.
Prepare containers with drainage holes and fill them with a seed-starting mix—a lightweight, well-aerated substrate designed for germination. Avoid heavy garden soil, as it may compact and hinder seedling growth.
Step-by-Step Guide to Germinate Seeds at Home
Follow these steps to ensure successful germination:
- Pre-Soak the Seeds (Optional):
- Soaking seeds for 12–24 hours softens their outer shell, speeding up germination.
- Prepare the Substrate:
- Use a seed-starting mix or coconut coir. Ensure the mix is moist but not waterlogged.
- Plant the Seeds:
- Create small holes (about twice the diameter of the seed) and place the seeds inside. Cover lightly with the substrate.
- Water Gently:
- Use a spray bottle to mist the soil, keeping it evenly moist.
- Maintain Humidity:
- Cover the containers with plastic wrap or a humidity dome to retain moisture. Remove once the seeds sprout.
- Provide Light:
- Once seedlings appear, place them under grow lights or near a sunny window for 12–16 hours daily.
Most seeds will sprout within a week, though some varieties may take longer.
Common Mistakes to Avoid When Germinating Seeds
Even with proper preparation, mistakes can occur. Here are some common issues and solutions:
- Overwatering:
- Problem: Waterlogged soil can cause seeds to rot.
- Solution: Water sparingly and ensure containers have drainage holes.
- Insufficient Light:
- Problem: Seedlings may become leggy and weak.
- Solution: Use grow lights or place seedlings in a bright spot.
- Wrong Temperature:
- Problem: Seeds may not sprout if it’s too hot or cold.
- Solution: Use a heat mat to maintain consistent warmth.
- Poor Seed Quality:
- Problem: Low germination rates due to old or damaged seeds.
- Solution: Test seeds before planting and choose high-quality options.
- Inconsistent Moisture:
- Problem: Dry soil can halt germination.
- Solution: Keep soil evenly moist without soaking.
Learning from these common pitfalls will improve your results over time.
How to Transplant Seedlings Safely
Once seedlings develop their first true leaves (not the initial seed leaves), they’re ready to be transplanted. Follow these steps:
- Harden Off the Seedlings:
- Gradually expose seedlings to outdoor conditions for a few hours each day over 7–10 days.
- Prepare the Soil:
- Ensure the planting site is nutrient-rich, well-drained, and loose enough for root penetration.
- Handle with Care:
- Gently remove seedlings from their trays, holding them by their leaves, not their stems.
- Plant at the Right Depth:
- Place seedlings at the same depth they were growing in their containers.
- Water Thoroughly:
- Water immediately after transplanting to help the seedlings settle into their new environment.
This careful approach will help your seedlings transition successfully, promoting robust growth.
Pro Tips for Germination Success
- Label Your Seeds: Keep track of the varieties and planting dates.
- Experiment with Paper Towel Germination: Place seeds between moist paper towels inside a sealed plastic bag and keep in a warm spot. Check daily for signs of sprouting.
- Use Biodegradable Pots: These make transplanting easier, as you can plant the entire pot in the soil.
With these tips, you’ll maximize your germination success and enjoy the process of nurturing seeds into healthy plants.

